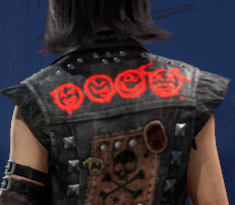
Emissive/Legacy Material Instances
Prerequisites
Introduction
This guide will show you how to create a material instance with an emissive effect in DaylightGame. For this guide we will simply be adding emissive glow to an existing cosmetic. This guide assumes you have knowledge of basic FModel usage as shown in the Textures tutorial. If you do not, we highly suggest familiarizing yourself with that tutorial first.
Finding what we need
Unlike a single-asset texture replacement, material instances depend on other assets to function. In our case, we only want to add a _BDE and change some parameters, but to properly recreate the material asset we're replacing, we will need all the other textures it uses too.
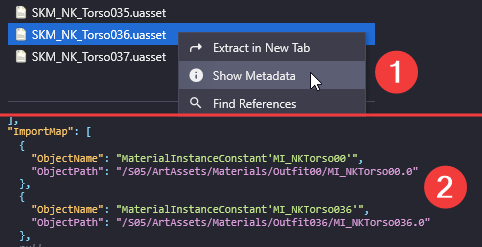
I've found the following torso which I want to add glow to, SKM_NK_Torso036. Now we want to find the material it uses for the jacket; right click it in FModel and choose Show Metadata, then scroll down to the ImportMap section in the JSON that opened. We can see it has two materials, this is completely normal, but we will need to look through them to find the one that actually looks like the jacket we want to modify. Click on the paths to open the assets. In this case the correct material instance appears to be the second one.
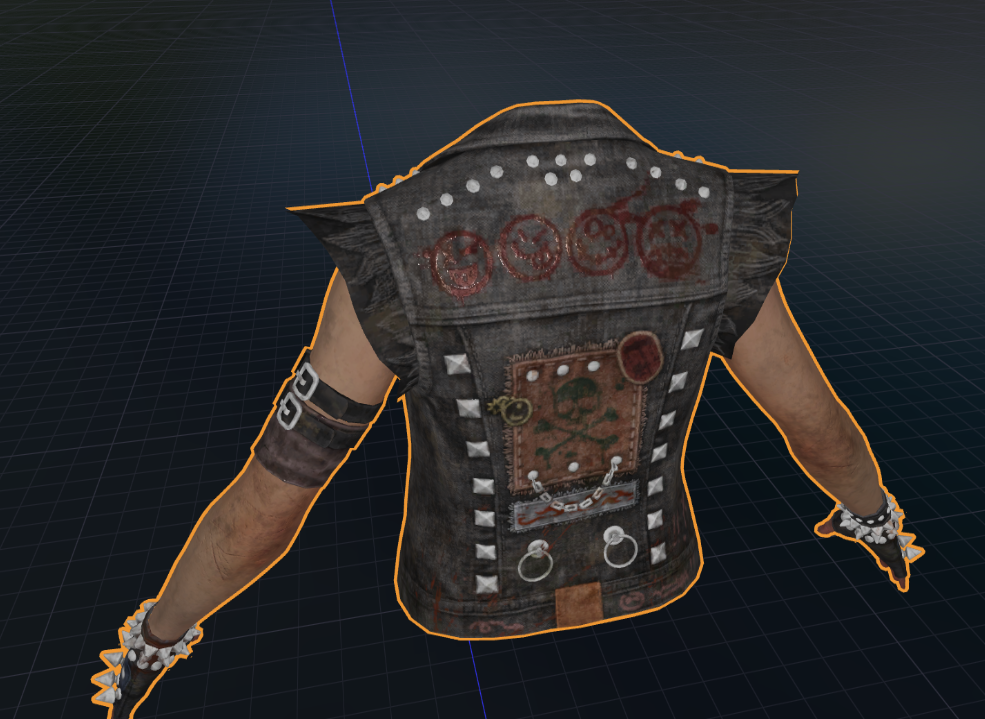
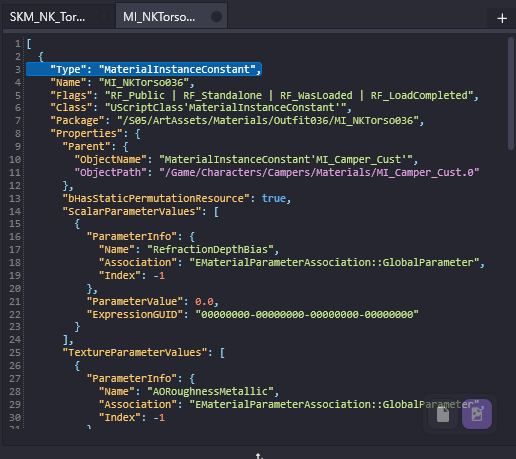
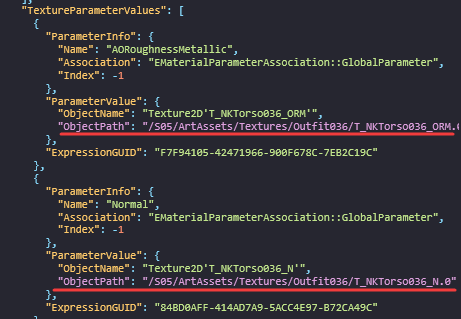
After finding the correct one, close the 3D Viewer that probably opened - you should now have a tab opened in FModel with the JSON of the material instance. Here we can see all the info we need about the parameters, such as the path to the textures used. Extract all the textures, and keep the tab open, we will need to look at the names of the parameters there later.
Creating a BDE texture
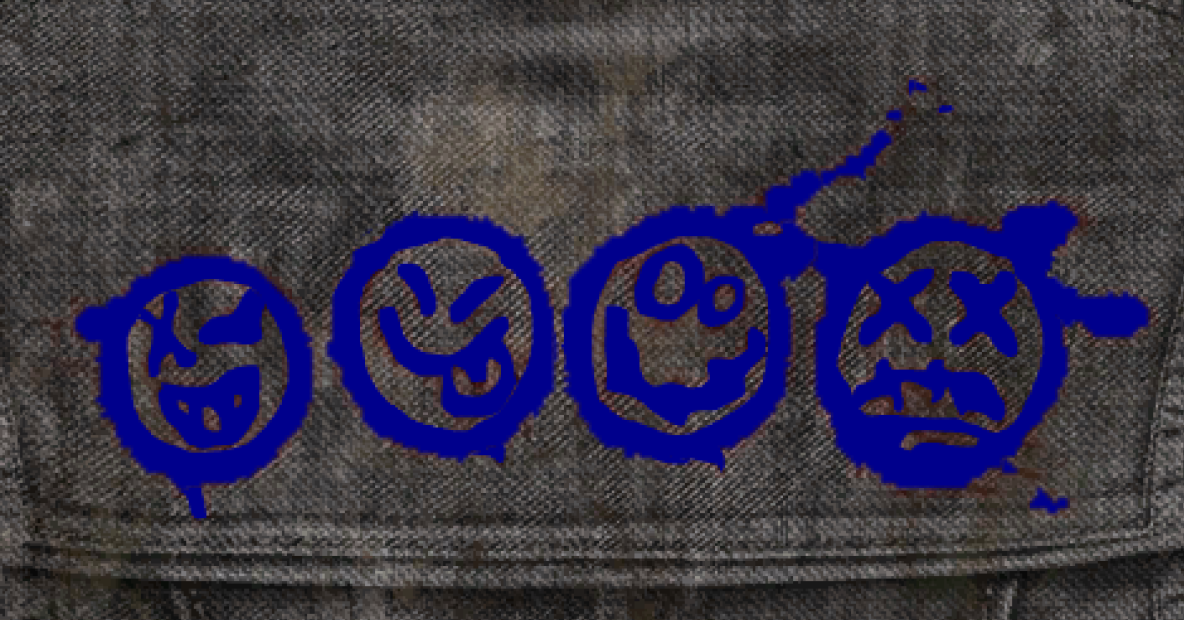
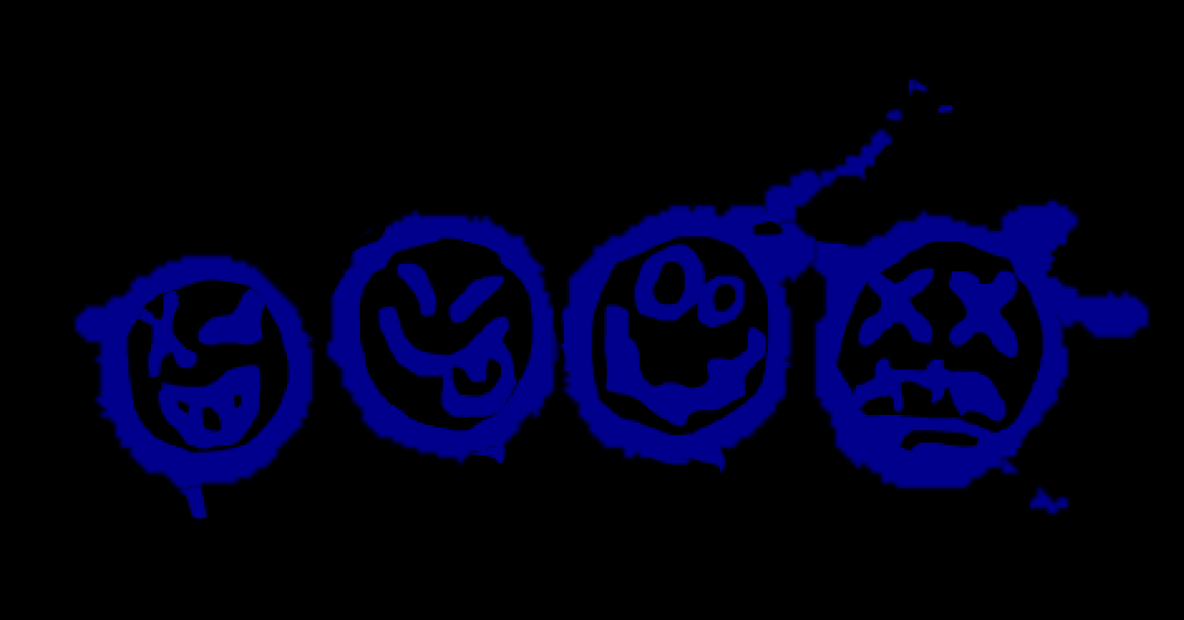
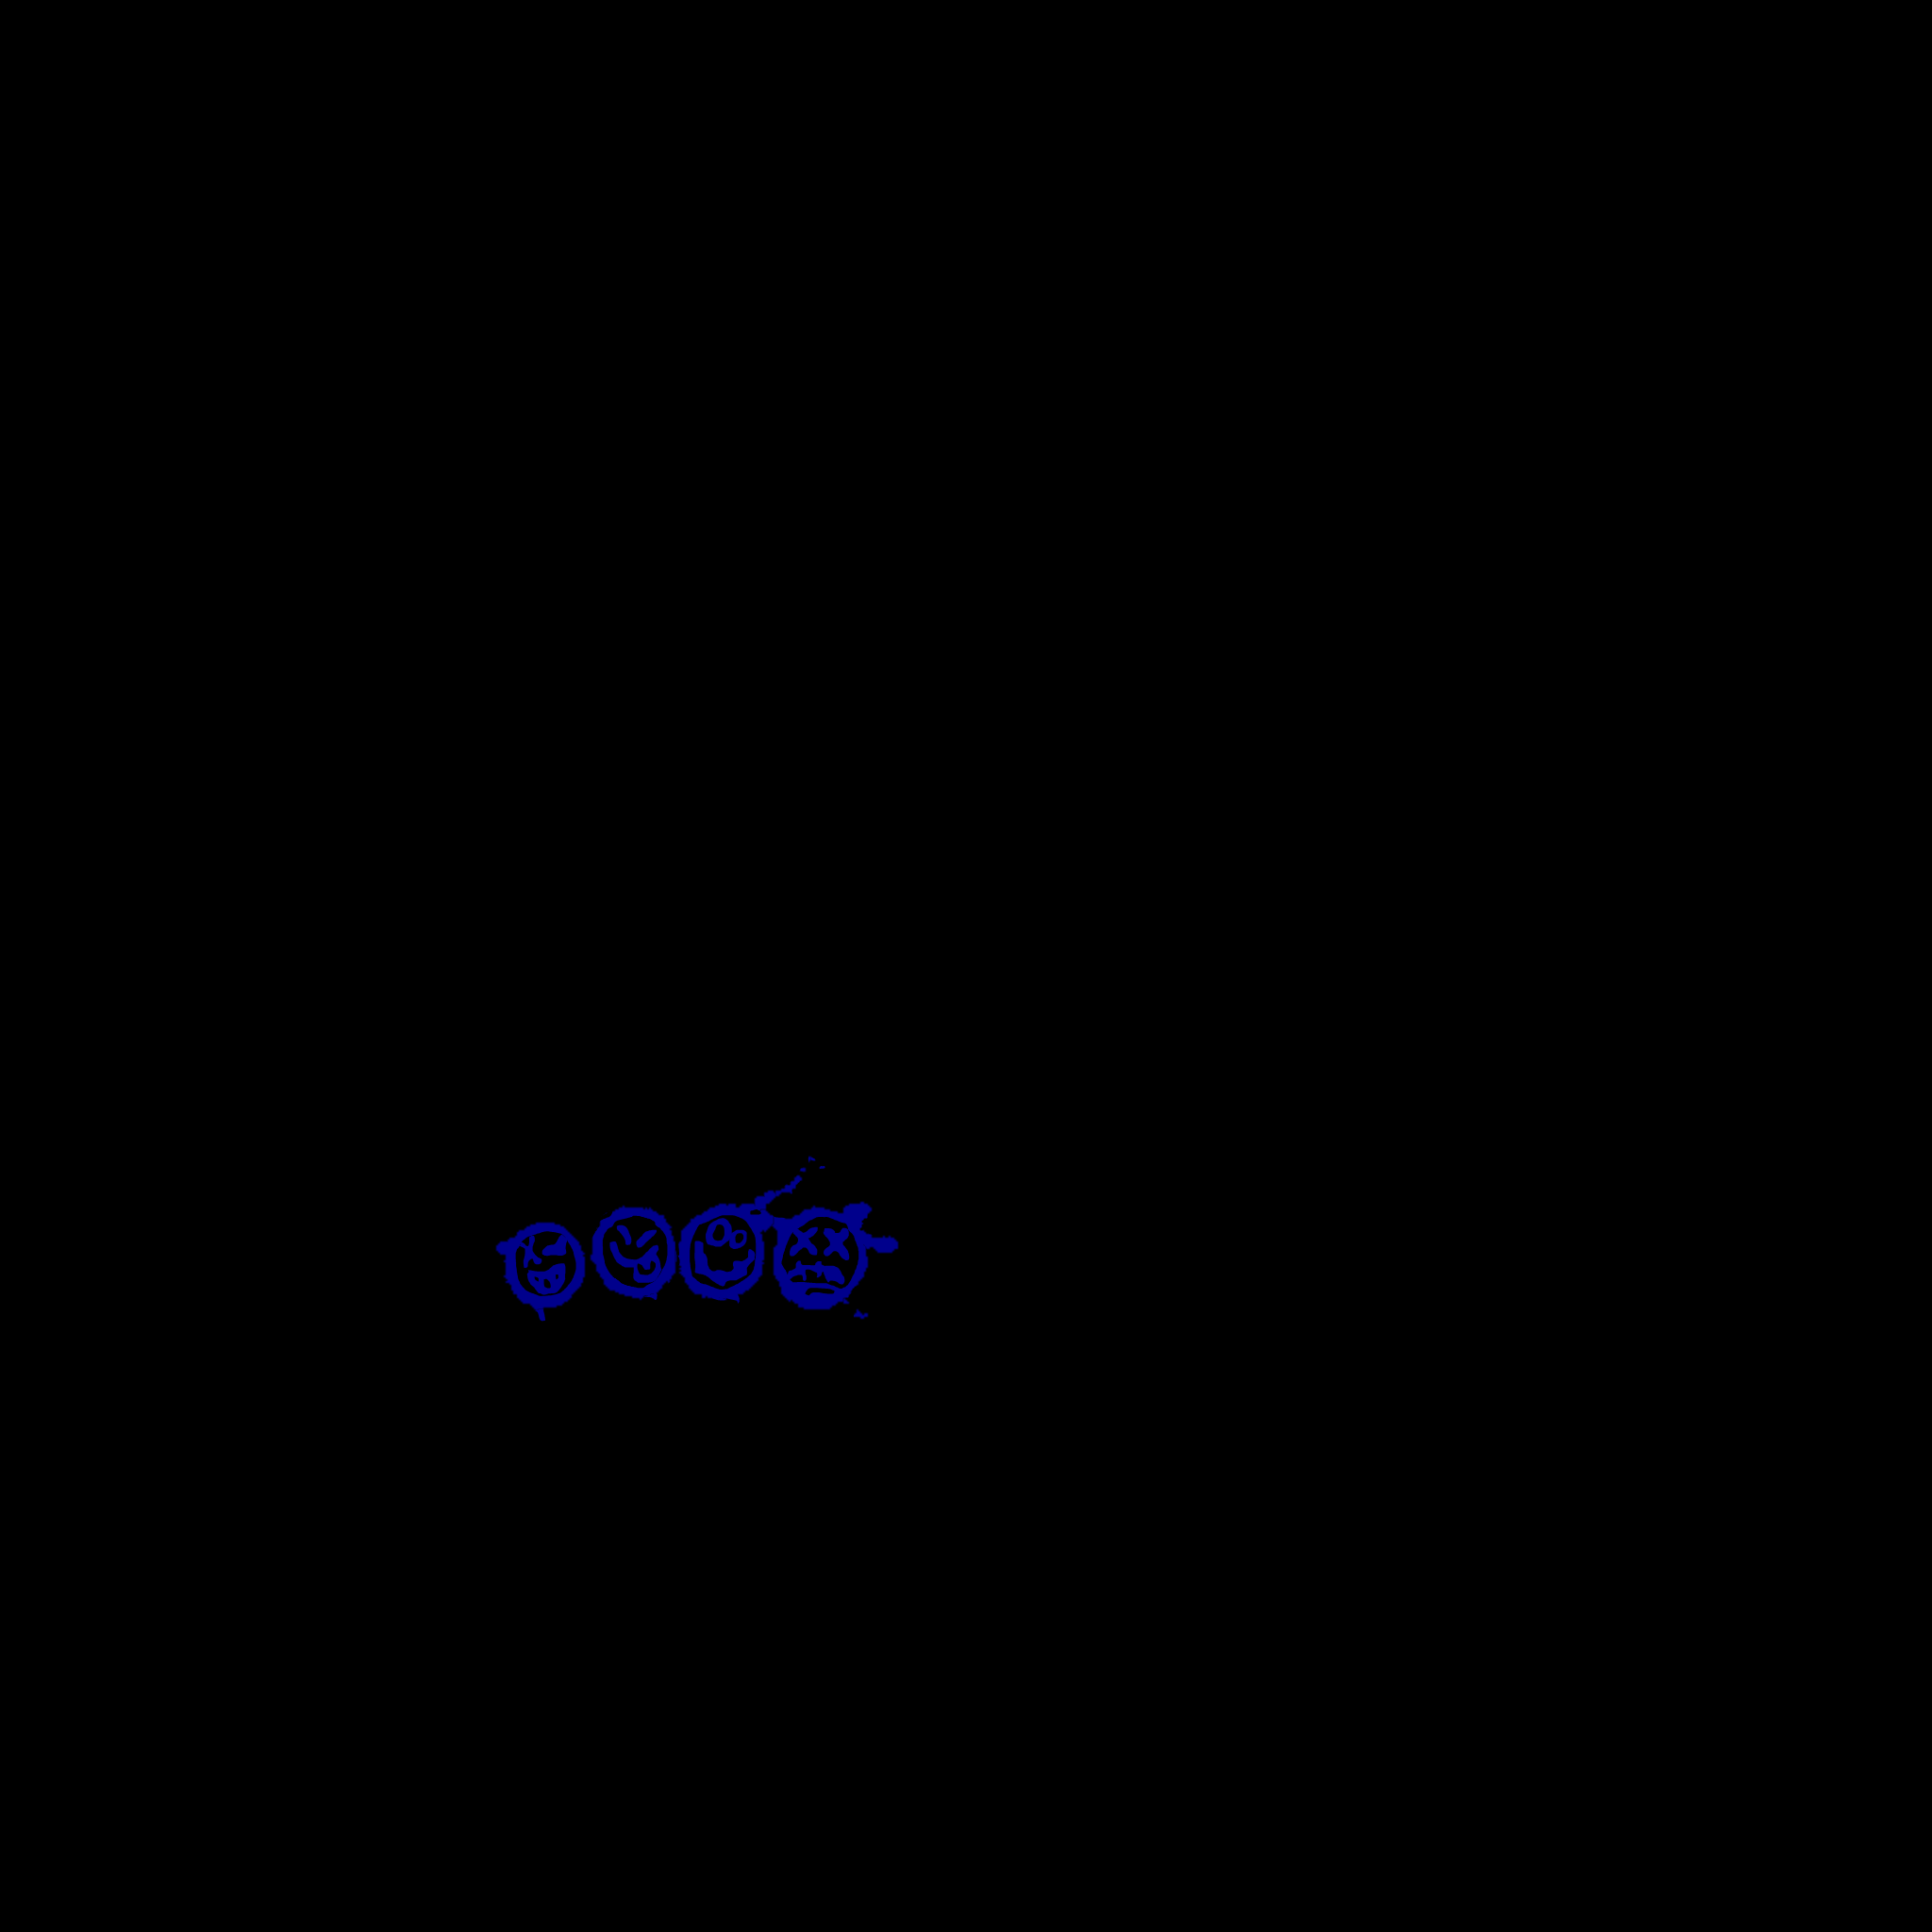
In a _BDE texture, the blue color channel controls the emissive. Vanilla cosmetics usually keep it around 140 max, as in, RGB (0, 0, 140), lower values mean lower emissive strength for that region. Your final _BDE should be blue emissive regions on a completely black background.
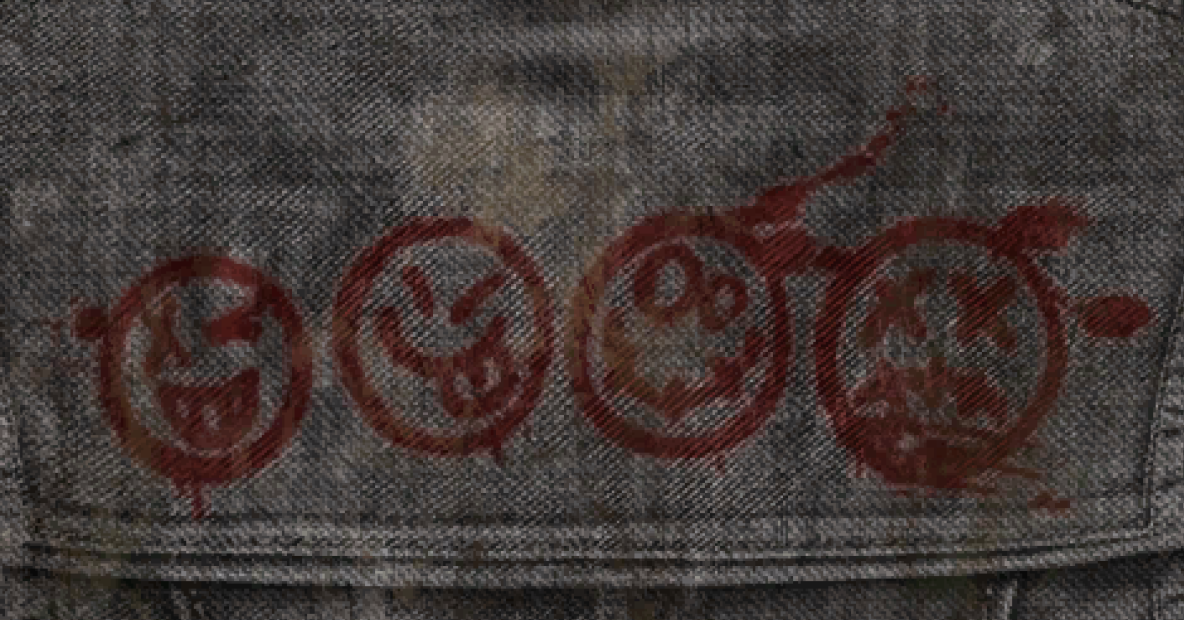
To create the BDE shown in the images below, I used the lasso tool to cut the relevant parts to a new layer, then made the cutout the correct blue color. This guide will not teach you the process of that, there are other resources for learning whatever image editor you want to use.
Creating the material instance
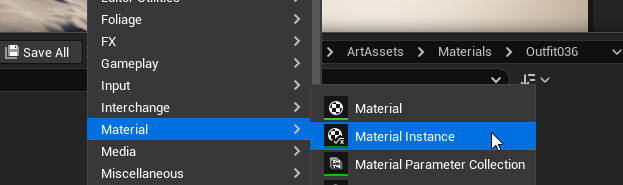
Create a material instance at the correct path so it replaces the asset in-game, make sure to name it the same as it is FModel too. If the folders don't already exist, create them.
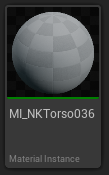
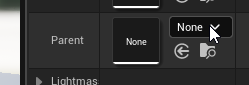
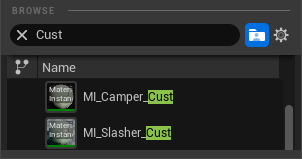
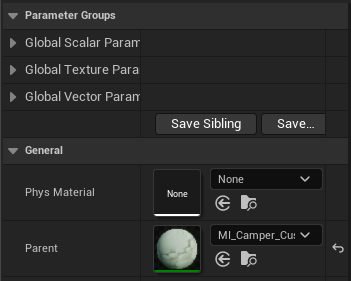
Now, open the material instance you created and change its parent to MI_Camper_Cust if you're modding a survivor (as this guide is), and MI_Slasher_Cust if killer.
Now you should be able to see that the Scalar, Texture, and Vector parameters categories have appeared at the top of the panel. As you can see, there are quite a few of them, but we will not need to touch most.
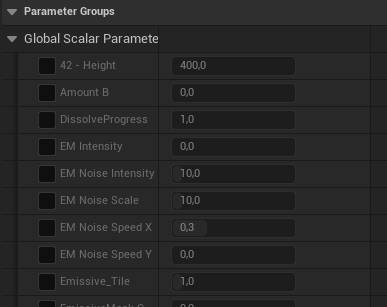
Because we only want to add our emissive without changing anything else on the material instance, we will have to copy the configuration the game uses to our version (except for the parts we want to add/change, like our new BDE).
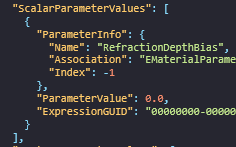
Let's look at the material's JSON in FModel again - there we can see the names of parameters we want to copy. For example, under "ScalarParameterValues": [ I see RefractionDepthBias with "ParameterValue": 0.0,, and under "TextureParameterValues": [ I see AORoughnessMetallic and a few more. Under these names, we also see the texture that parameter uses in the material instance.
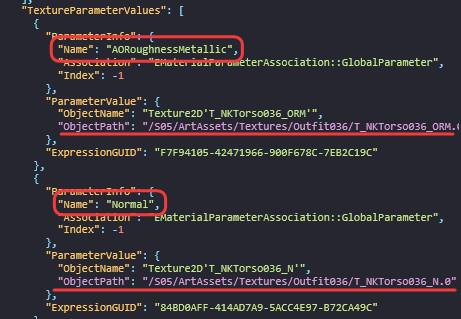
Regarding the texture parameters, we have two options for how to copy them; both options are valid, but with different consequences. We can:
-
A. Import the same textures ourselves into UE, use them in our material instance, and pack them into our mod.
-
B. Import them (or any other texture really) into the same path as they are in the game, then not pack them into our mod.
Option A increases file size and means that if anything changes in the "vanilla" game textures you used, such as the devs maybe fixing an error in them, your mod will not reflect that, it will still be using the ones you exported today. If this is the behavior you want/are fine with, use option A.
Option B saves file size and means the opposite of A, if the devs change those textures, your mod will reference them and use them along with whatever changes might be made to them. Although, this also brings the risk of the devs making changes that break the mod. In some cases, you might want this behavior, if so, use option B.
For the sake of simplicity, we will be using option A, as it is the more common approach and most stable. Let's create a folder for our textures. I simply made mine in the same directory as the material instance because I don't care about keeping things organized for a mod this small.
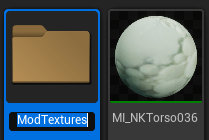
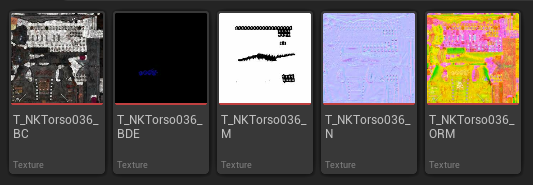
In our material instance, we'll apply the textures to the same parameters which use them in the reference vanilla material, as well as our new BDE.
Note
You may need to enable Show Plugin Content if your textures don't show up (as in this case we placed them in a plugin content directory). To do this, press the cogwheel in the asset selector that pops up when you try to select a texture.
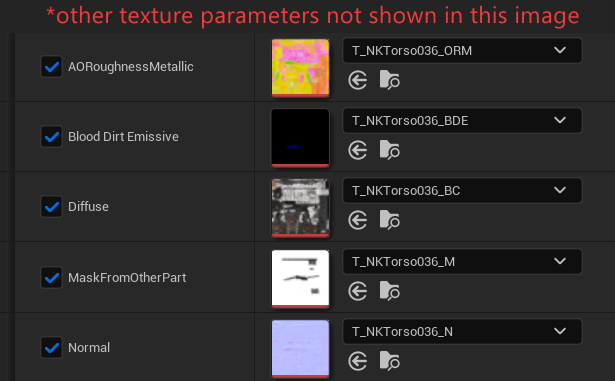
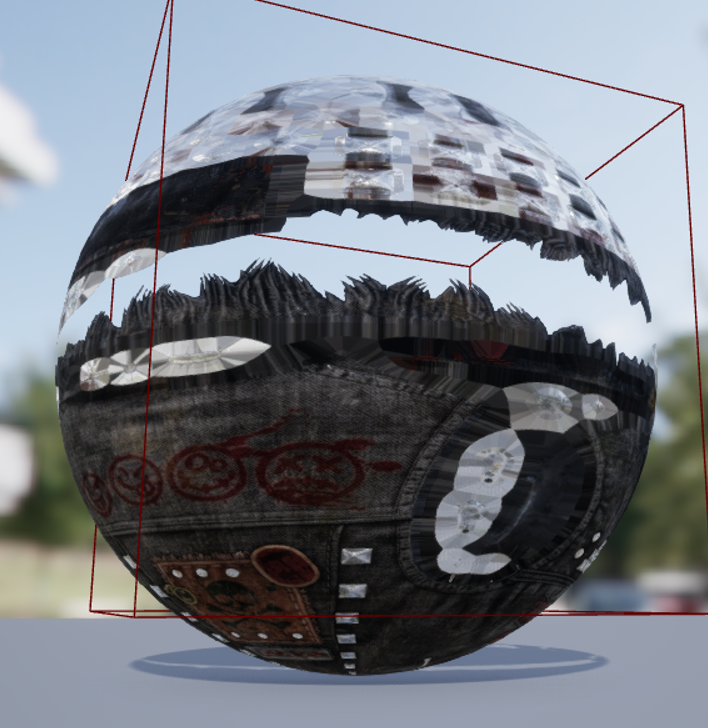
After textures are have been set properly, all that's left is to modify the other parameters related to emissive to get the result you want.
The Vector parameters EM Color and EmissiveTouch control the color - the latter should be set slightly darker than the former if you want to match how the game devs usually do it.
For Scalar parameters:
EM Intensity- the most basic, you need this to be over 0 for anything to show up. Common value is 3
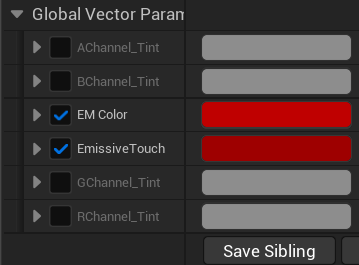
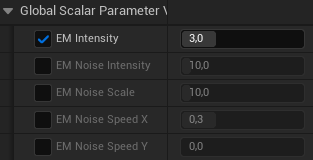
Settings for "Legacy" emissive look
If you want to make your emissive look like Legacy, simply change your settings to match the following:
| Parameter | Value |
|---|---|
| EM Intensity | 10 |
| EM Noise Intensity | 2 |
| EM Noise Scale | 5 |
| EM Noise ScaleFar | 10 |
| EM Noise Speed X | 0.5 |
| EmissiveMask Custom | 5 |
| Emissive_Tile | 3 |
| EM Color | R = 1, G = 0.552359, B = 0.212663 |
| Emissive Touch | R = 1, G = 0.567833, B = 0.25 |
If you want your emissive area to be solid color instead of having an embers look, simply change the Emissive_Tileable_Texture to a blank white box and set EM Noise Intensity to 0.
Cooking and packaging
After cooking the mod, there are some things we have to do before packing to make sure everything works correctly. We have used "dummy" materials to create our material instance - we do not want to pack these into our mod as it would replace a bunch of vanilla assets we don't want to replace! As a rule of thumb, you should always make sure that you aren't packing any unintentional asset.
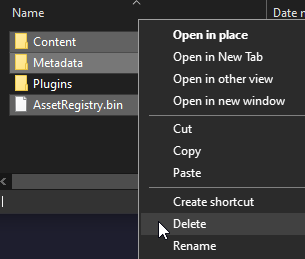
For this material replacement, the only things we want to pack is the material instance itself and the textures we made it use, nothing else. Let's look at our cooked output in {Project}\Saved\Cooked\Windows\******Daylight\. We know that all our assets we want to pack are in Plugins, so we remove Content, Metadata, and AssetRegistry.bin. Then let's simply click through the Plugins folder which we're keeping and look for anything we don't want to pack.
As an example of a mistake that's easy to make, I found old assets from when I wrote the Texture guide! In your case, when making multiple mods, you might find assets from other mods you've done (if you're reusing the same uproject). We of course don't want to accidentally pack unrelated mods together, so we delete these assets first (if there are any).
Result
After packing, we can load into the game and see how it looks. You will probably have to go back an forth between the game and UE to adjust the values until it looks like you want it to.